Wednesday, 18 September 2013

Saved by the Bell


Acid Wash Denim Skirt- Black Market (similar here
Wool Hat- H&M
Dress Shirt- Dad hand-me-down (similar here)
Shoes- Thrifted 
Mesh Top- Thrifted (similar here)  
RingsForever 21
BagH&M


I've been watching a lot of Saved by the Bell reruns on television lately that I feel like its showing in my daily school outfits. Especially with this retro acid washed skirt I picked up from Black Market, I really feel like Kelly, now if only Zack went to my school life would be complete. 
The vintage dress shirt that belonged to my dad is something I am really loving right know, it has a really cool toned colour design to it that pairs well with almost anything.  
This outfit has to be my favourite thing I've worn to school so far this term, it's super comfortable for those long classes but still dressed up. 
The black bag is one I got recently for school to fit my laptop. Its the prefect size and it has to coolest leather detailing. The zipper on the bag can be a pain in the bum sometimes but its nothing I can't get over. 


Monday, 9 September 2013

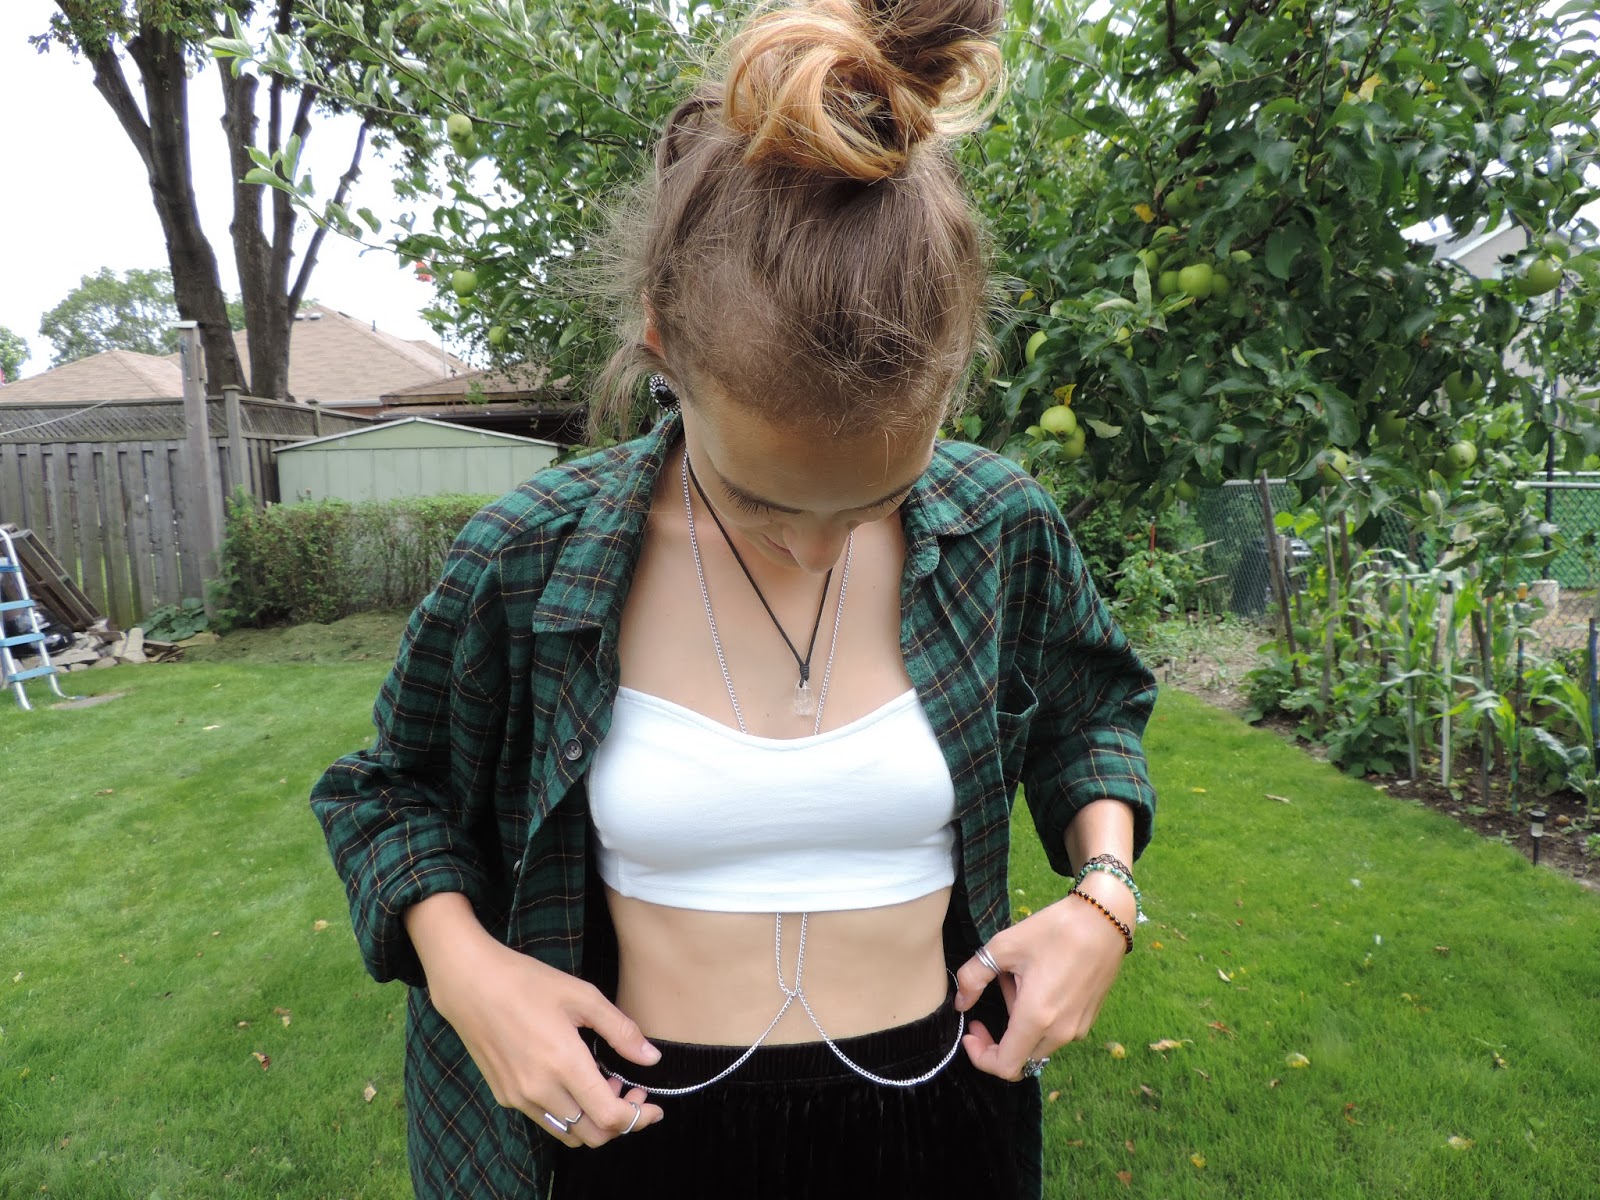
Chain it up


Bralette-Brandy Melville
Skirt- Thrifted (Value Village) similar here
Men'd Plaid Shirt- Thrifted (Value Village) 
Body Chain- DIY similar here
Flatforms- Thrifted 

I've been wearing this shirt religiously since I bought it. My sister calls it the "Scotch Tape" shirt because it literally looks like the tape packaging. I bought it from the mens section of my local thrift store, they always have a variety of plaid shirts to choose from. 
The white bralette is actually my sisters but since I have the same one in black we decided to be nice for once and share. I think it pairs perfectly with the baggy pieces of the outfit, and since the skirt is high waisted it doesn't show to much skin. 
Body chains are a trend I am really loving right now! Whether you wear on top of your shirts or under them like I am in this outfit, they always add a unique twist to simple outfits. 
These earrings are a pair my best friend gave to me as a gift a few birthdays ago, and being me I lost them as some as I got them and recently just found them in a random purse. Thank the lord I found them cause now I never take them off. 

Hope everyone is having and amazing day!! Talk to you soon.  

Sunday, 7 July 2013

DIY Dip Dye Shorts


I've been seeing these dip dye trend everywhere for a while now and decided to get on this cute trend bandwagon! 
This DIY is a bit time consuming but so worth it :) 

The supplies you will need for this DIY are pretty straight forward. 
I picked up my tie-dye kit at Walmart (they also sell them at Michael's)  for about $15 and it comes with everything you'll need. I bought the full kit knowing I was going to also dye some t-shirts, but if you are just doing the shorts it might be cheaper to buy each dye colour individually, that way you could also customize to colours you want instead of using the ones that come in the kit. I paid $4 for the individual purple one, also at Walmart.  


 I decided to use the colours purple, pink and blue because I wanted to create a gradient effect and I think these three colour go well together. 
The bottles come with the coloured powder and you just need to add water. 


The key for this DIY is to use light coloured shorts so that the colour is at its true and brights colour. 
I found cut the shorts from a pair of highwaisted  Levi's pants that I thrifted for $10 that i cut the legs off. 


 STEP 1: The first thing you want to do it decided the order of which you want to colour to go. I did pink, purple then blue, I felt like the flowed well together in that order. You could add as many colours as you want, I've seen a lot of two toned ones so decided to do three instead.


STEP 2: Next you want to also decided how far you want each colour to reach, if you want them to be all the same thickness or the bottom thicker then the top ones, its up to you :) 


STEP 3: You want to start layering the colours starting from either the top or the bottom. Over apping the colours a bit also adds a nice effect so they blend well together.


Don't forget to do the back side !!

STEP 4: when you're done you want to leave the dye in for 8 hours or over night. In the morning you want to risnse the shorts out with water until it runs clear, and then throw them in the wash by themselves.
you want to wash your shorts separately for the first few washes. 


Thanks to my sister, Nancy for modeling the shorts for me !

Hope you guys in enjoy. 
Don't forget to follow me on Instagram @stefasseiro 


Monday, 10 June 2013

Thorn of a Rose


Top/Dress- H&M (Brandy Melville has a similar top) 
BraletteBandy Melville
Velvet Skirt- Thrifted ( similar here )
Platform sandals- Thrifted
Denim jacket- Black Market (thrifted)  

This velvet skirt is my new go-to bottom (as you could probably tell from how much its been featured on the blog).Velvet always adds an interesting aspect to any outfit. Especially paired with this open back dress from H&M. This dress it very versatile, it can be used both as a cotton, casual dress or tucked in to wear as a tank top (its short enough not to be bulky when tucked in). I have been living in this Brandy Melville bralette. The caged back makes it PREFECT to wear with open back tops or even deep armhole muscle tanks. 
These pictures don't really show off the shoes but they are a pair of platform sandals that I thrifted a couple of weeks ago, hopefully in my next posts I remember to stand somewhere where I’m not sinking into the grass. 
Last but certainly not least I had to add a picture of my adorable baby boy Carl <3 His model material don't you think?